- 200g butter/ margarine (in room temperature)
- 200g white granulated sugar
- 400g self-raising flour
- 1 tsp baking powder
- 500ml buttermilk
- Food colouring, 1/4 tsp of each colour
- 2 large eggs
- 1 tsp vanilla essence
This cake is absolutely delicious and so easy to make. I used the same recipe that my mum passed down to me when I was 10 years old. I’ve just modified it a bit and instead of using fresh milk I used buttermilk and I loved it. Putting the batter in the mason jars is a fun thing to do. It will be perfect for parties or celebrations and not forgetting how unique it will look too. You can also do this just for your family and friends for dessert.
Resources/Equipment You Will Need
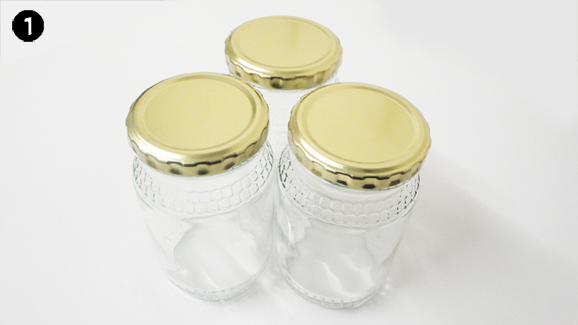
- Mason Jars (check my online store if you need some)
- Mixing bowl
- Hand-mixer/ Wooden spoon
- Cooling Rack
- Kitchen Scale/ Measuring cups
Quick Instructions
- Preheat oven to 180 degrees Celsius/ 340 degrees Fahrenheit/ Gas Mark 4. Have your mason jars ready.
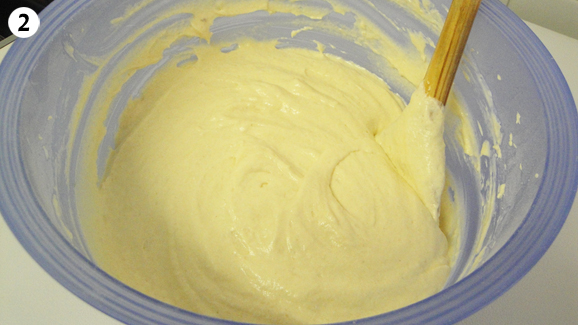
- Prepare your batter in the same manner as I made the vanilla cake. Click here to go the recipe. Please note that in place of brown sugar use white granulated sugar and in place of milk use 500ml buttermilk as listed in the ingredients.
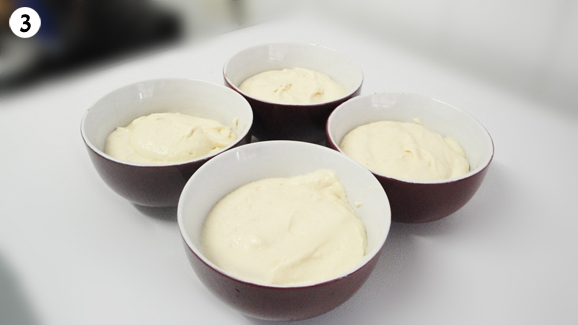
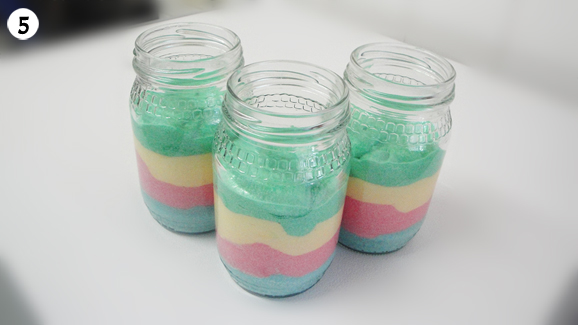
- Divide the batter into 4 equal portions.
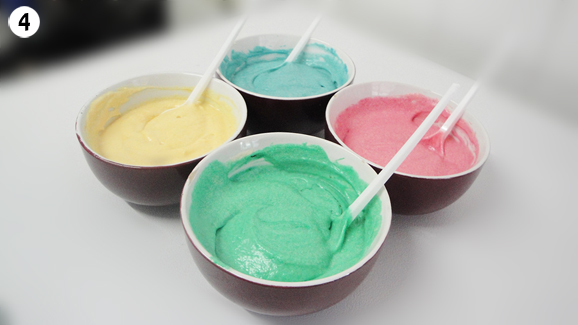
- Use the food colours you wish. Here I used pink, blue, yellow and green.
- Use a spoon to scoop the batter in layers into the mason jars. Do this up to half way of the jars. If you over-fill the batter will overflow and spill over when baking.
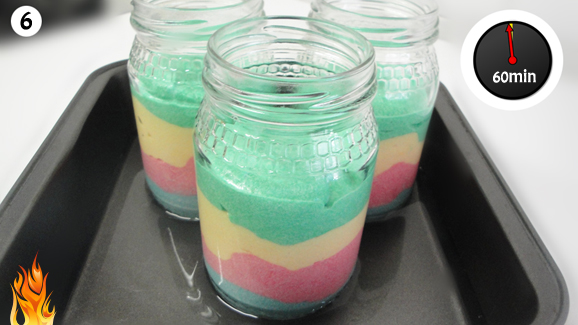
- Put your jars in a big enough baking tin or casserole dish. Fill it up 1/2 way with water. This is because heat can bend the baking tin whilst baking and also so that there is even distribution of heat from the oven. Bake for 60 minutes or until skewer comes out clean.
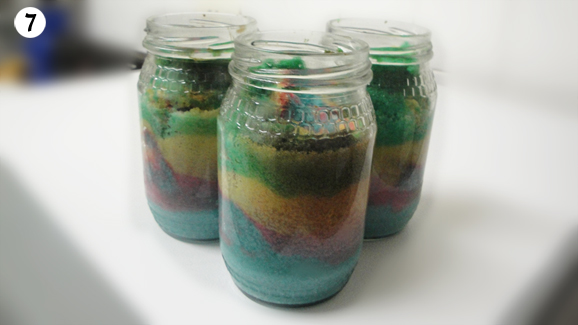
- When cakes are done, wait for them to cool. You may place them on a cooling rack.
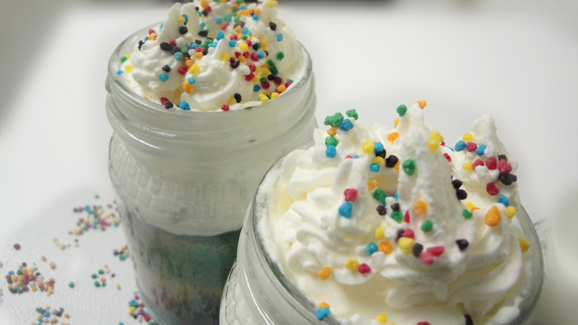
- Your cake in a jar is ready to be consumed. You may decorate if you wish to or just eat them as they are. Here I used fresh cream frosting, learn how to make your own by going to the recipe here.
Pictorial Detailed Instructions
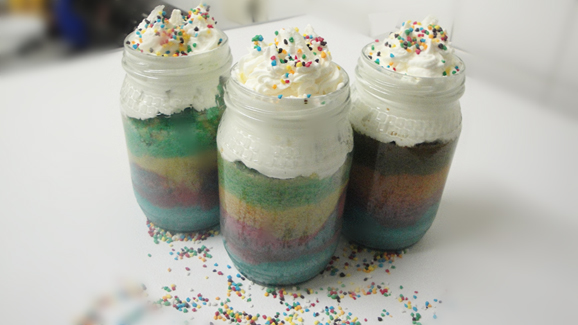
It’s pretty simple right? To enhance the colour of the cake you can use Neon food colouring. I didn’t have any available with me when I made this so I used the ordinary food colouring. The taste was just fantastic and the kids loved the multicolor effect. Go ahead and try it out. Let me know how it goes when you do. You can even prepare just one colour batter, it doesn’t have to be multicoloured.
